You just handed over your invitations to the post office to hand-cancel and push out into the world to your guests – give yourself a few days to celebrate because that was a feat within itself, yeah? But don’t wait too long – you have your ceremony and reception stationery to think about next.
Remember back here in the write up about Save the Dates when we said to be ready to become immersed in all things paper when you start the process? You’re in the home stretch – don’t lose momentum now! Let’s start the conversation about your ceremony and reception stationery, mkay?
Before we get too far into it, let me give you a little tip for keeping your sanity. Once you’ve sent out your invitations, begin seating the guests you know will be attending your wedding. Your grandma, Aunt Bess and Uncle Jim, your bestie circle from college – put them at a table. If you’re about 85% sure they’ll be attending, put them in a seat. When you’ve received their physical RSVP, just put a check mark next to their name, make note of their meal choice if you need to do so, and call it a day. This will save you not only a million headaches two weeks before the wedding, but this will help show you how many tables you will need to have set. Then, slot in those guests you weren’t so sure about as the RSVPs come in.
What sort of budget should I set for my day of wedding stationery?
As we’ve talked about before, the cost will rely heavily on from where you order your day of stationery and which pieces , DIY and online being more economical and custom being your more expensive option. Either way, keep in mind that most online shops and catalog shops won’t have the option of personalizing your items with guests names (think escort cards and place cards, which we get into in a second,) so you want to consider who will be handling this part of the puzzle. If you’ve set your RSVP date out at least a month, like we talked about before, I have some tricks to help you tackle the beast that is the final guest list.
What stationery items could I need at my ceremony and reception?
The items you ultimately decide upon will rely on the setup of your wedding. Here is a list of the most common paper pieces you’ll want to consider. Most couples need about 3 of the items on this list and some want all the things! Take a look through this list and decide what’s necessary and what’s a bonus.
-
Programs
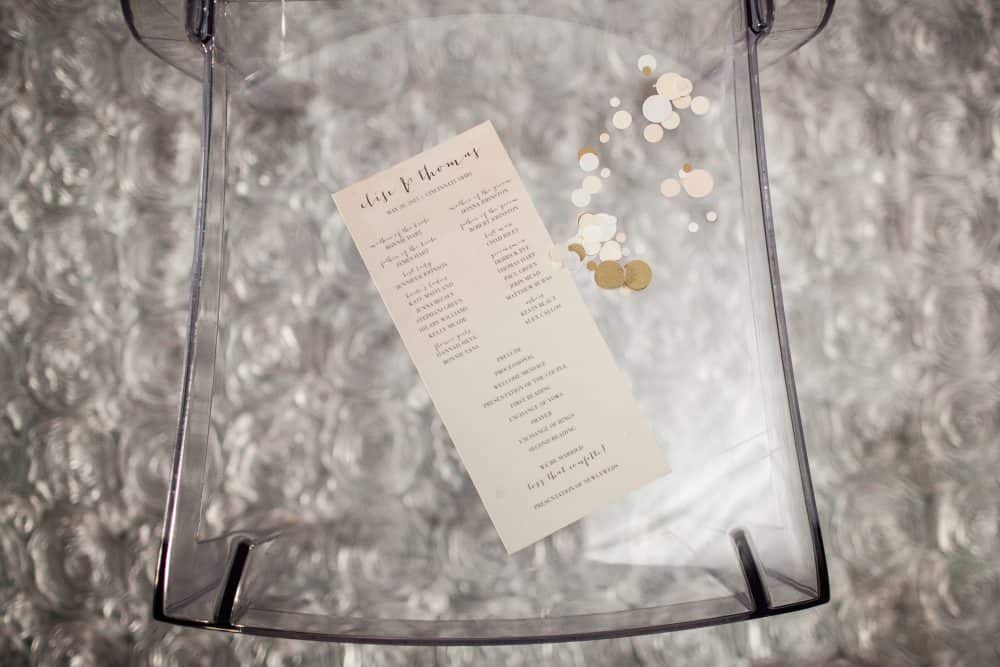
Programs can have all sorts of formats, but the basic information that needs to be included is a timeline of the events happening during the ceremony. This is where most couples will list the important family members; parents, grandparents and any other significant adults in their life, the bridal party, and anyone with a specific “job” during the ceremony; greeters, ushers, readers, musicians, etc.
-
Seating Chart
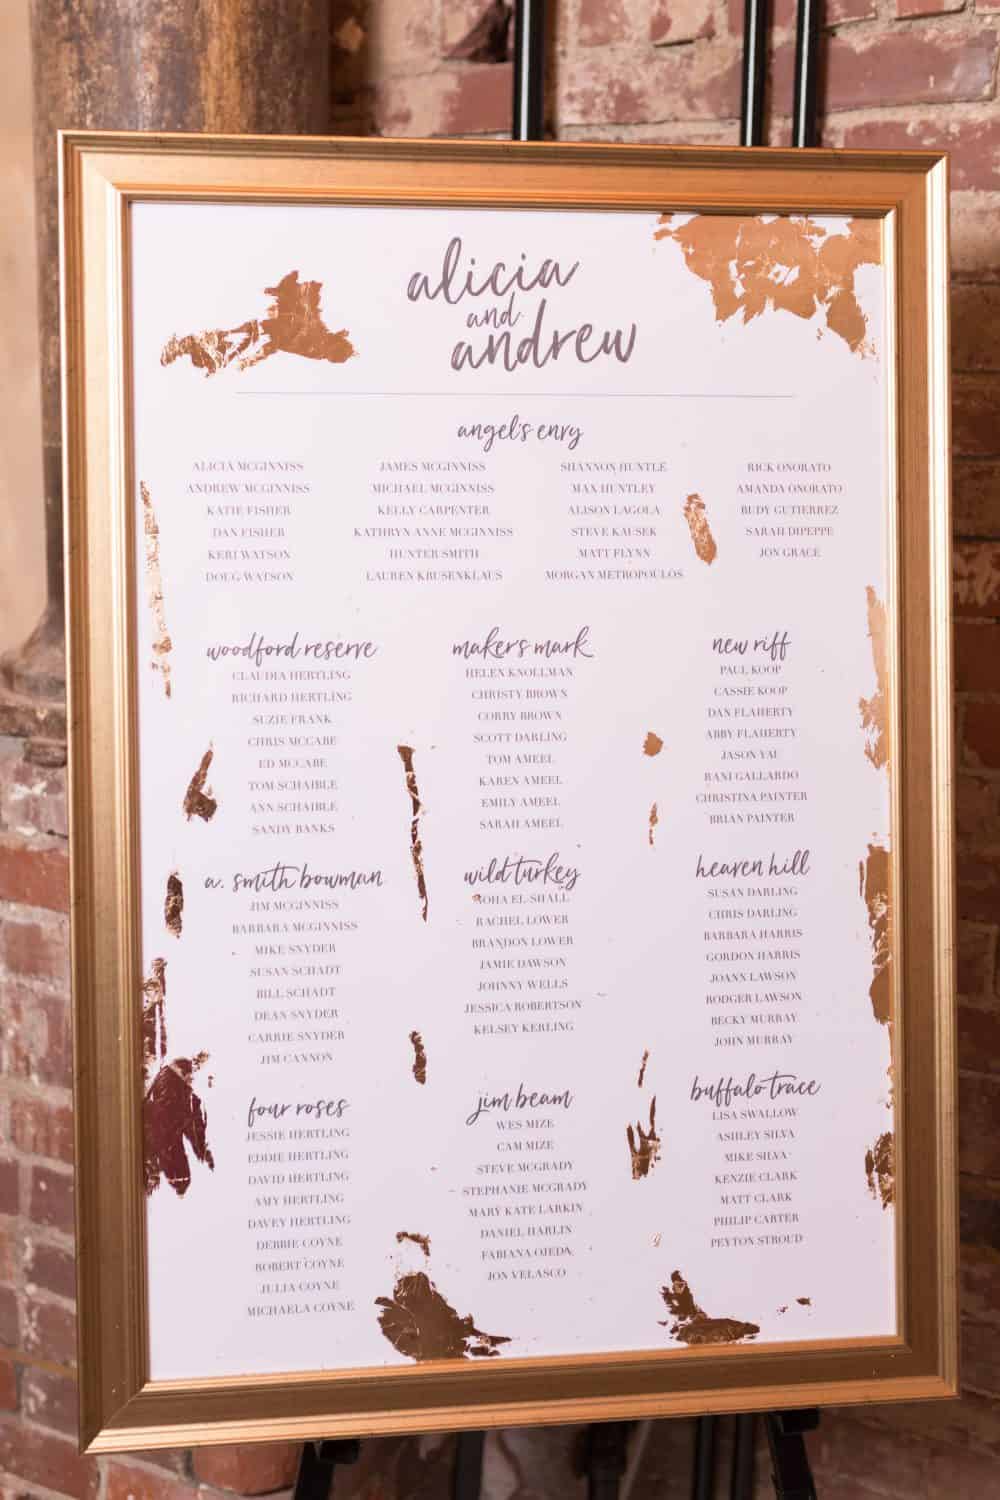
Seating Charts are definitely a quick and cost effective way to let guests know which table at which they will be seated. These are best formatted in Alphabetical order and each chart should hold around 150 names. It’s important the text is large enough that guests can find their name easily, thus eliminating any bottlenecks or crowding. Seating Charts can be used in place of or in addition to escort cards.
-
Escort Cards
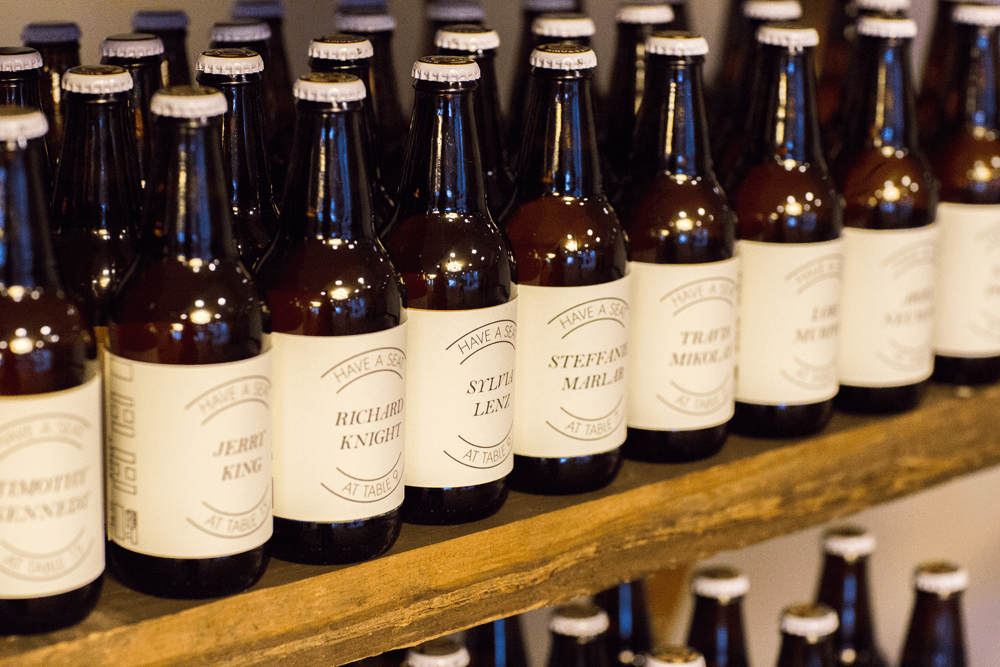
Escort cards are used to show guests to their tables, or escort them into the room, if you will. These can be used with a Seating Chart or in place of a Seating Chart. For the escort cards, the only information needed is the guest or couples’ name(s) and the table to which you have assigned them. It’s not recommended you note your guests’ meal choices on the escort cards, mainly because some guests may not take their card and/or they may not place it on the table for the servers to see. These can be printed directly on the card or be calligraphed.For some, the escort cards are a chance to really make a statement. The couple below loved their craft beer, so they wrapped one of their favorite local beers to create their escort card. The bottles were then placed on rustic boards placed between two ladders to create more of an escort “beer” wall. Each place setting then had a bottle opener as the favor.
-
Place Cards
Place Cards go on the table, at the specific place setting for your guest. This is where meal choices will be indicated and how you will be indicating which meal your guests have chosen will need to be discussed with your caterer. Servers need to be able to glance at a place card and know which meal to serve. Some choose different colored paper, some choose stickers, a graphic printed on the card, or even a rhinestone. If you did not have your guests choose their meals, place cards are not necessary unless you would like to have each of your guests in a specific seat at the table. These can be printed directly on the card or be calligraphed.
- Menus
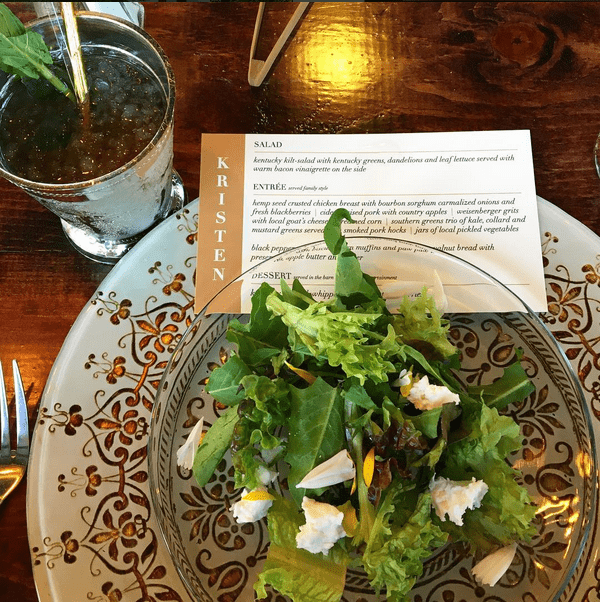
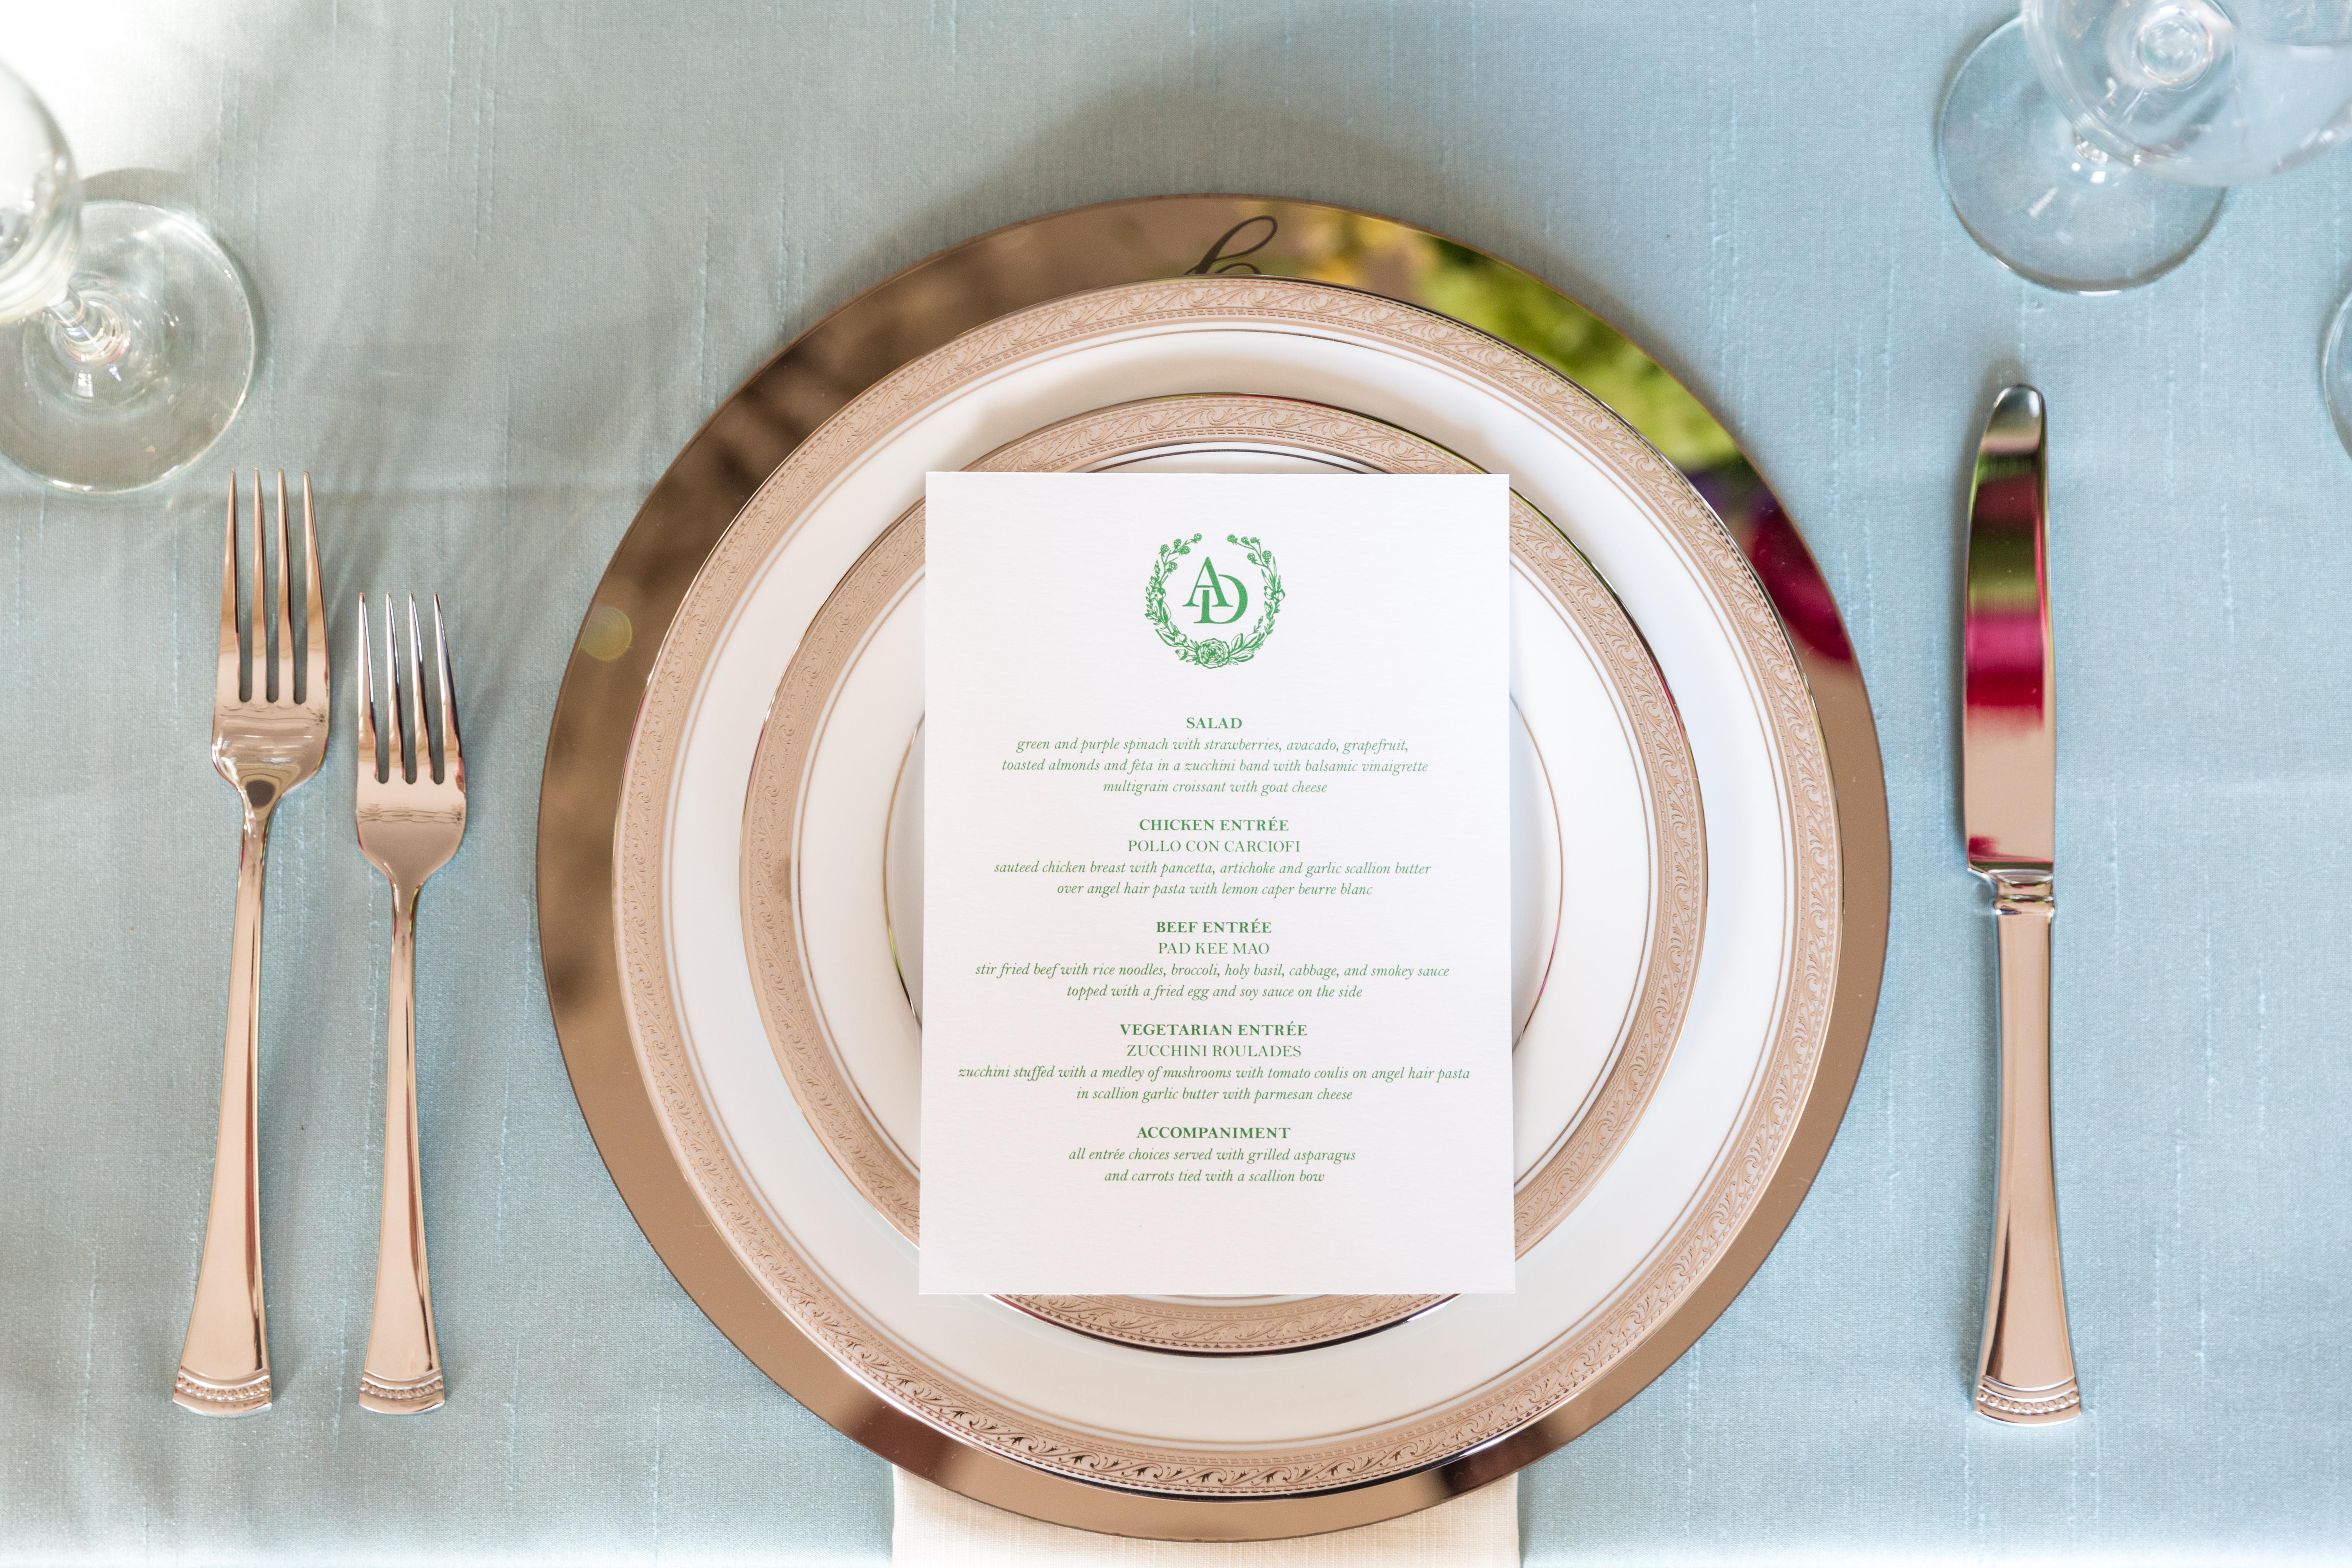
These are exactly what they sound like – a list of the food you’ll be serving for dinner. These can be made for each place setting or a few per table, but all-in-all, they’re a gracious touch to the table decor to let your guests know what food they’ll be served for the evening. If you’re serving buffet style, you may choose to make large posters to place next to the buffet tables and small cards along the table with the specific foods or you may place menus on the table. Menus tend to be more of a bonus item when it comes to reception stationery.
-
Table Numbers
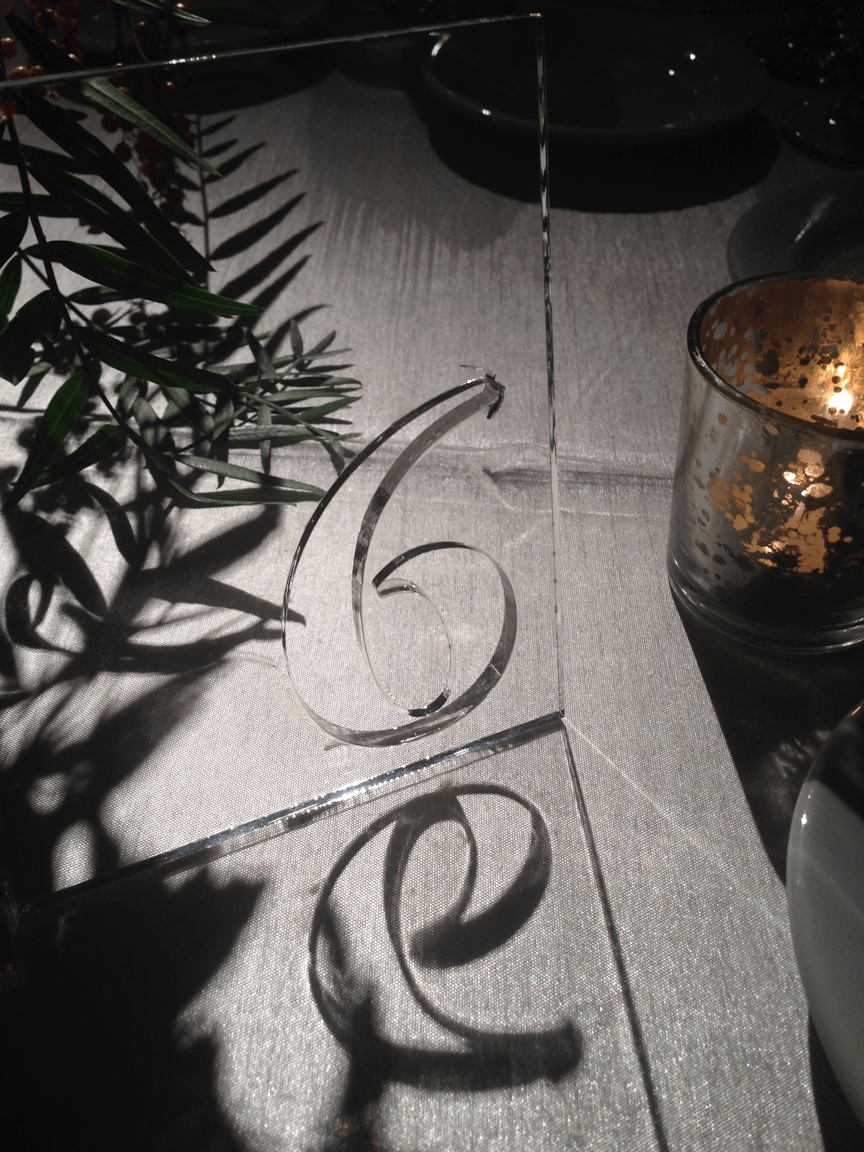
Tables numbers don’t have to be as fancy as I’ve shown below, but you can definitely have some fun with them! Just try not to make them so fun that you confuse your guests. Table numbers can be in small frames, as table tents on the table, a single sheet placed in a tall holder or something that slips into your centerpieces (be sure to discuss this with your florist beforehand and make sure they have these a week before the wedding so they can work them into your arrangements.) Some couples like to name their tables after adventures or places that have special meaning to them – this is a great idea, but also list a table number. Without a visual layout of the tables, this will leave your guests wandering much longer than you may prefer.
-
Signage
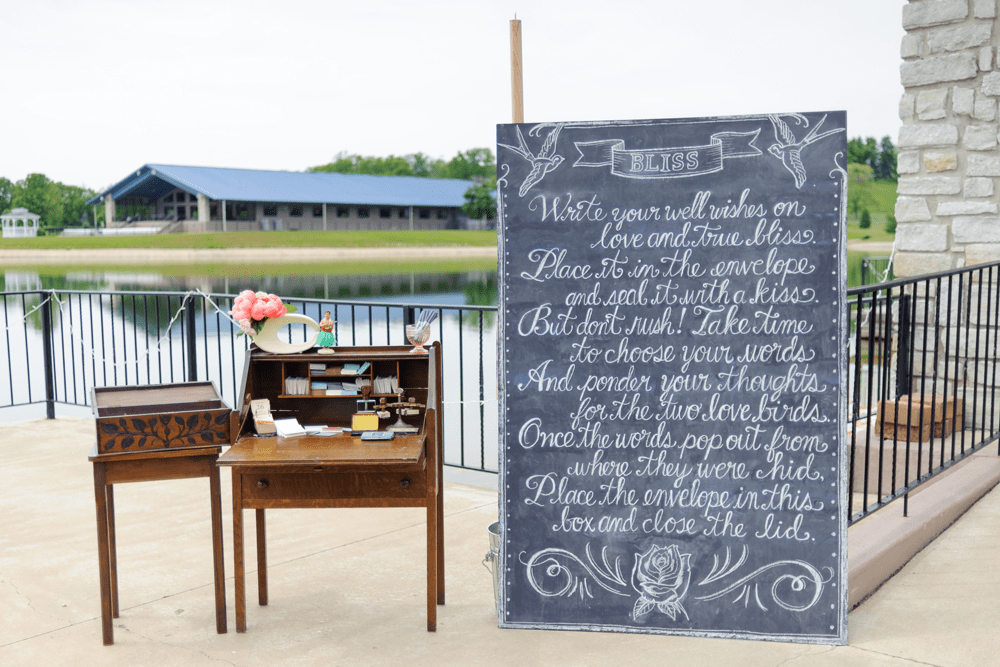
The fun stuff! Bar menus, his and her cocktails, fun games to play at the tables to break the ice, song suggestions, way-finding for photo booths or cocktail hours, the guest book table or the gift table – point out all the details! These can simply be framed and placed on table tops or easels.
-
Favors
Anymore, favors have gone by the wayside and been replaced by donations to charities or causes. Something as simple as a small tag attached to these gifts is the perfect touch to any favor.

What’s all this going to set me back?
I tend to budget higher than the final cost to try and encompass any last minute surprises that might spring up; this last month could bring a handful of surprises or it could be smooth sailing.
- Programs – 100 printed on a half sheet of paper on both sides
DIY – $70 – $150
Custom – $400 – $700 - Seating Chart – 2 charts
DIY – $160
Custom – $350 - Escort Cards – 100 table tent style cards.
DIY – $30
Custom – $275 – 400 - Place Cards – 100 table tent style cards.
DIY – $30
Custom – $275 – 400
(remember to account for both escort card and place card pricing if you need them both.) - Menus – 100 single sided
DIY – $40 – $75
Custom – $250 – 400 - Table Numbers – 15 tables for table tent style.
DIY – $17
Custom – $50
(this does not include a table number holder if you plan to use one) - Favor Tags – 100 square tags to be tied on a favor
DIY – $60
Custom – $100 - Thank You Cards – 100 folded cards with envelope
DIY – $40
Custom – $200 – $350
Yes, there’s a big gap between the pricing listed, but please remember : what you don’t pay for, you must counterbalance with your time. When you’re hiring someone to create these pieces for you, you’re freeing up your own time to focus on other details of the wedding. The last month is crunch time, as we mentioned, and all of your vendors will be emailing asking for details, so if you can hand these projects off to someone else, it’s in your best interest.
Wait – what about thank you notes? Where do these fall?
Yes, thank you cards are super important, but what I find to work best is to concentrate on the key paper pieces you need the day of your wedding. Once you approve the design of all your ceremony and reception pieces (that may not mean you have all the information compiled, but you have the design you want for each pieces chosen or finalized), think about thank you notes. These are simple pieces that can go to print a few days after your ceremony and reception pieces.
How much time do you need for all these pieces?
Just like your invitations, any specialty printing is going to take more time. Letterpress and hot foil stamping are going to need at least two weeks to be complete, not including design time. Any details like wax seals and ribbons will need a few extra days to be assembled. This is why it’s so important to start thinking about these ceremony and reception pieces not too long after you send out your invitations.
My guests’ RSVPs haven’t all come back. How do I handle a situation like this?
This is common and in all honesty, it’s best to just hand over your guest list – maybes and i-bet-they-cancels and all. For many stationers, formatting your guests’ names takes the most time. For calligraphers, last minute changes, though common, often disrupt the flow of other clients’ work because they have likely switched to a different style of writing and a different ink. It’s best to have your stationer or calligrapher print or write all the names you have on your list, along with as many table numbers as you can have assigned. Be sure to have a conversation with your designer or calligrapher before you start the process so everyone is on the same page.
If you decide to write the names yourself, break your list into small and manageable chunks. Your hand will get tired quicker and your handwriting will get sloppy or you’ll begin to make mistakes and you’ll get frustrated. Do a few each night, maybe leaving off the table number until you’re 100% on the final seating assignments, and save yourself a ton of headaches.
With all of these pieces swirling around in your head, let me offer a bit of advice.
Don’t do it all by yourself.
If you have a girlfriend with nice handwriting; ask her to help and let her know that can be her wedding gift to you. Maybe your mom is an organizational whiz; let her handle the RSVPs. Chances are Mother-in-law really wants to help; ask her to research songs and readings for the program. Release the reigns knowing final decisions are all you, baby.
Want to work together? Yeah, me, too. Let’s talk
Leave a Reply