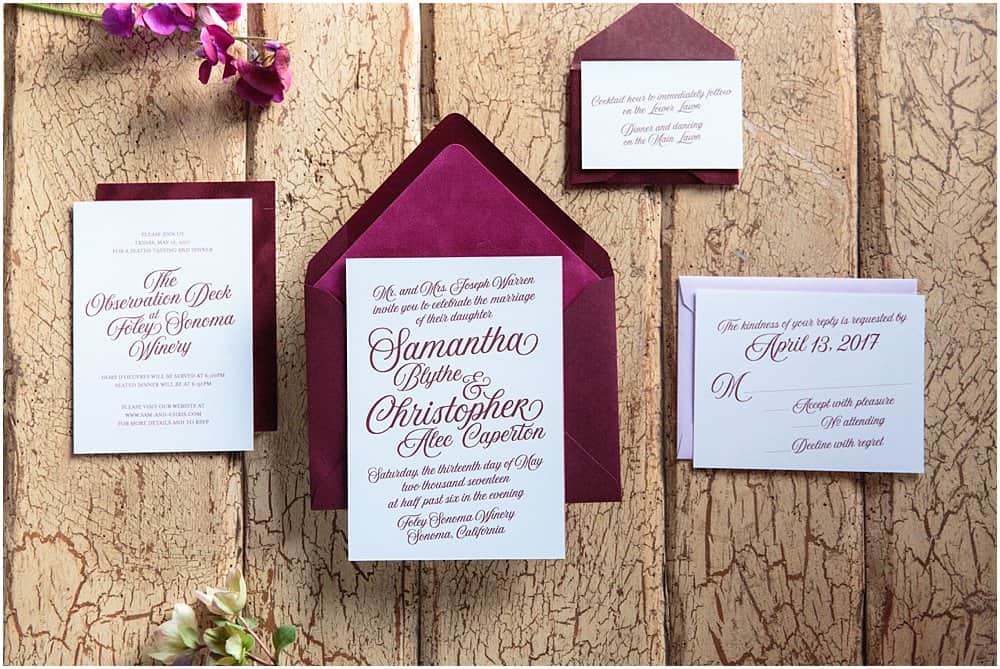
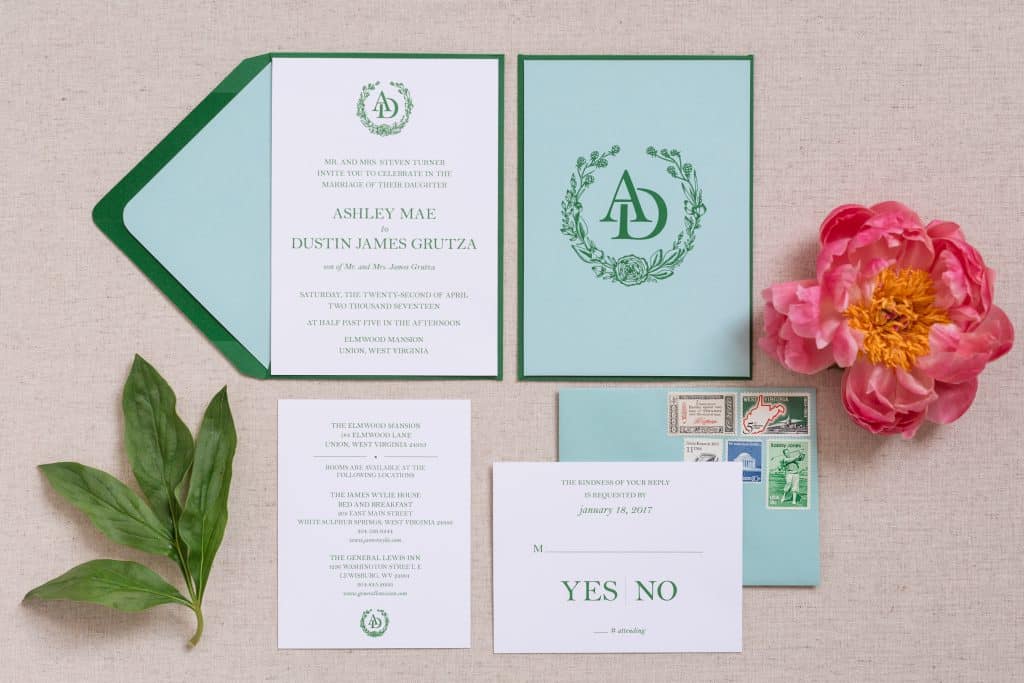
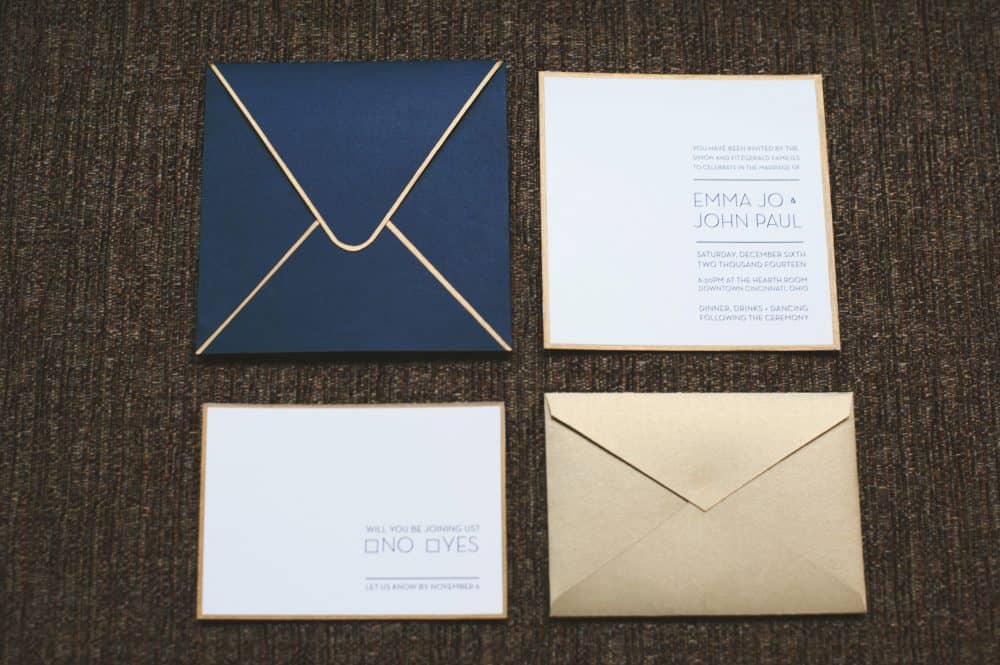
Ya’ll. Ish is about to get real. We’re talking about your Wedding Invitations. Go ahead. Grab some paper and a pen, maybe your planner… and maybe a few bottles.
Just kidding. One bottle will do.
Wedding stationery is the step in the planning process where not only does everything start to feel “real,” but a whole new overwhelm can hit. This is where the details all come together and all those decisions you’ve been making for the past million months (or at least it feels like) come together in one pretty package for your guests.
Be prepared to be immersed in all things paper once you begin the process – it’s best to get as much decided upon early to make those last few months not seem so “just get it done.” You spent time choosing your place settings, so take a little time to choose the menus you would love to see at each guest’s seat. You spent time choosing the perfect venue, so take a little time and provide travel information and maybe a map to ensure your guests get to see the venue all prettied up.
BUDGET
This is one part of planning for your paper products that is all over the board. DIY vs Online vs Semi-custom vs Custom is just the beginning. Then comes printing processes and paper types. Then comes what pieces you need. See?! It starts to get crazy! As a suggestion, you’ll want to keep 8% – 10% of your budget for your wedding stationery.
These numbers are based on 100 invitations with a single card matte invitation, RSVP with matte envelope, one insert and a matte mailing envelope.
DIY : $250 – $400
If you choose this route, be 100% sure you love everything paper and you’ve scrapbooked or crafted (successfully) before diving into this endeavor… because you’ll be up to your eyeballs in paper. Remember you’ll be assembling, in most cases, over 100 of the same thing. Double the amount of time you think you need to design, print and assemble because you will run into snags. Speak to the printer you want to use BEFORE you purchase anything – get all the details of working with them so ensure a smooth process. Just like your Save the Dates, if you aren’t comfortable with working with a printer, this is not the best option for you.
Online/Catalog : $50 – $700
Check to see if the invitation suite you choose also has complimentary reception paper pieces : programs, seating chart or escort cards, signs and table numbers. Having a designer later design these pieces will not only add more cost, but a designer won’t match what you ordered exactly. A custom designer will not be able to recreate the artwork you chose for your Save the Date and/or Invitations… and it’s not to be mean. It’s just straight up illegal. Can you imagine that conversation in a jail cell?
Semi-Custom : $450 – $900
Order the sample pack. If if a sample pack isn’t available, ask to purchase one. Seeing the quality of the printing and the materials is important because a semi-custom designer will most likely not schedule in-person meetings for you to see these details. And even if you Skype or FaceTime with the designer, nothing beats a tangible product in your hand.
Custom : $2500 and up
If your designer is out-of-town, again, request to purchase a sample pack so you can see that quality of the work. If you work with a designer that is in-town, schedule a meeting as soon as you can and go over all the details of your wedding – from Save the Dates to bar signage. You’ll be able to have an open conversation about pricing and your designer can help you prioritize your paper products. This is also the one way to ensure you get EXACTLY what you want when it comes to your paper.
When it comes to all of these pieces, the materials you choose and the weight of your papers are going to determine not only the overall cost, but also play a factor within your postage costs (which we’ll get into a little further down.)

PRINTING METHODS
How you decide to have your invitations printed will play a big part in your overall budget. More specialty methods like Letterpress, Foil Stamping and Engraving are going to be more of an investment, Thermography is a little bit more budget friendly and Digital is the best way to save some money on your invitations. If you work with a custom designer, they should be familiar with all of these printing methods and be able to walk you thru the pros and cons of each as it pertains to your design. There are definitely other options, but these are the most common for wedding invitations.
Hot Foil Stamping
If you’re looking to add some shine to your invitations or you’re looking to print white or light text on darker colored paper, foil stamping is where to look. This method bonds your paper with the gold film using heat. This is really important to understand, as there is another option of gold foil that uses static to bond the foil. This method doesn’t have the same quality as hot foil stamping. It will be tempting because the price tag is a little lower, but this method is more prone to flaking off, exposing the black ink under the foil.
Hot foil can be combined with other methods of printing. Just work with your designer or printer to find out which order you need to print each method. The best way to print double-sided hot foil stamping is to print two separate sheets of paper and duplex – or adhere – them together.
Letterpress
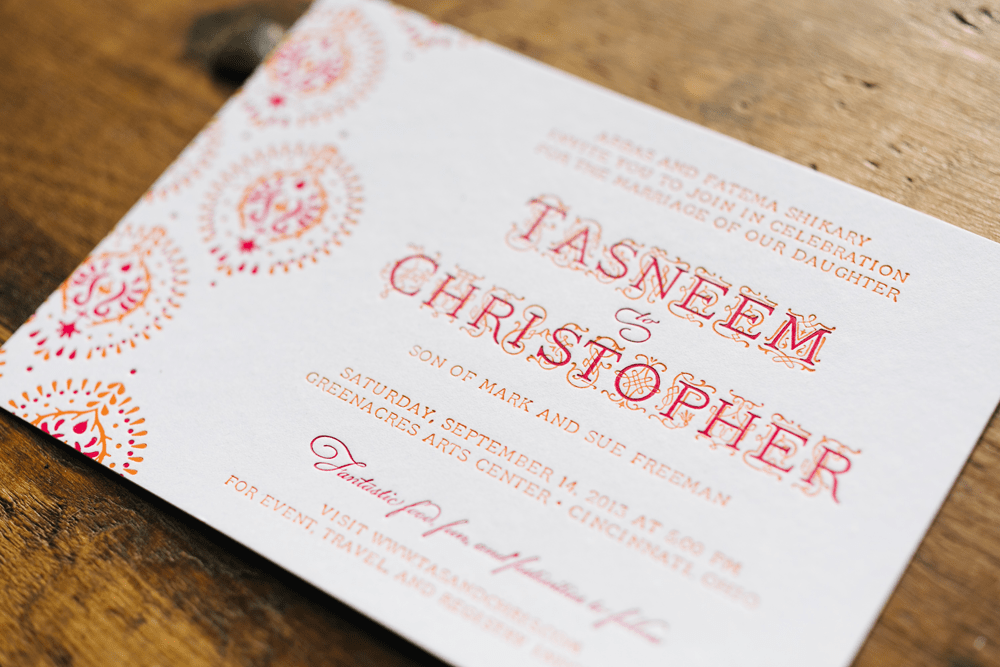
Letterpress printing is a classic and beautiful method where the text is pressed into the paper. Each color will utilize a plate, so each color will be printed one at a time. If you run your fingers on the underside of the paper, you’ll feel the texture of pressed text. Cotton paper works best with letterpress, as it’s softer and acts almost as a pillow for the letterpressed information and designs.
Letterpress can also be combined with other methods of printing, and again, you’ll just want to work with your designer or printer on which order to print. The best way to print double-sided letterpress is to either use double thick paper or print two separate sheets of paper and duplex – or adhere – them together.
Thermography
Thermography is very similar to embossing with embossing powder and a heat gun… but much much more upscale. This is a great method to use if you’re utilizing calligraphy or hand-lettering within your invitations, as it will give a feel of each piece being lettered individually. After your invitation is pulled off the press, a heat-activated powder is sprinkled on top and each piece is run through a heater similar to those at sandwich shops. You know the kind – they toss your sandwich in one side and a belt takes it thru the oven and it pops out hot and melty on the other side. That’s the same idea for thermography, minus the melty part.
Like letterpress, each color is printed separately, but printing more than one color of thermography on the same side of the paper won’t work out in your favor. Mixing printing methods is possible with thermography, but is very particular as the powder needs to be quarantined, if you will, to it’s specific spot. Again, work with your designer or printer for the best results.
Engraving
Engraving is one of the oldest methods of printing, but one of the less utilized in wedding invitations. This printing method can be thought of as the opposite of letterpress, where the text is pressed into the paper from the back and ink laid on top of that raised surface. This is the printing method you want to use if you want the most classic of classic invitations.
Digital
Digital printing is your most cost effective print method and can be combined with just about any other printing method. It uses small dots of Cyan, Magenta, Yellow and Black to have your eye mix them together naturally to create the color you want. You know that copy machine at your office? That’s a digital printer (but not the kind recommended for printing wedding invitations. Please don’t try to cut costs by printing your invitations “for free” after hours at work. You won’t be happy with the results.) Commercial printers, small print shops and some custom designers have specially calibrated digital printers to handle the quality printing you want in wedding invitations.

You still with me? That was a little intense, huh? Need to pop another bottle? We can wait…
TIMING
You can never start too early on your wedding stationery. Always leave extra time in the timeline for “issues.” Yes. “Issues” are going to happen, as there are so many steps and processes that go into creating wedding invitations. Here is the recommended timeline.
One super important thing to note before we get into any of this… if you have ANY HOLIDAYS that fall around any of your final major due dates : printing date, hand-off date, RSVP date, ADD A WEEK TO THE TIMELINE! This is so so important to ensure you stay on schedule. For example, if you’re getting married in April, your custom wedding invitations are most likely going to be due to print around Christmas. Most printers and designers either take a few days off for the holidays and some shut down for the full two weeks – it’s all dependent upon their preference. Be sure to take these dates into consideration and ask whomever you’re working with if they foresee any delay in deliverables.
Design
If you’re working with a custom designer for your Save the Dates, there may be some elements of the Invitations that you can begin during that process. It doesn’t hurt to start the design process right after you drop those Save the Dates in the mail. If you opt to skip the Save the Dates, you’ll want to make the decision as to which direction to take with your Invitations by 6 months out because, as you can see, if you have out of the country guests, those invitations need to be in the mail 12 weeks out.
A custom designer should be able to provide you with a timeline based on their work structure, but it’s a good idea to figure over a month to two months for design and about a month for production. That’s two to three months of your paper timeline right there. So the sooner you can start, the better.
I’ve created a PDF that lists all sorts of different ways to word your invitations for all sorts of family structures. Choose what’s best for you, your family situation and the style of your wedding… but most importantly, what you think sounds the most like you.
RSVP
Your final guest list is going to be your Bible. It’s going to be the living and breathing document from which you get all your magic answers. Your vendors are going to start asking you final numbers about a month or so out from the wedding. They need to start prepping for the work they’ll be doing for you by ordering materials, creating layouts, calculating timelines – the whole shebang.
With all of this said, having your guests RSVP a month out from the wedding will give you and your vendors a very good idea of your final numbers, even if you have to chase down a few people. If you really feel like you need to have it earlier, only push it up a week or so.
If you’re using that amazing excel sheet I linked up for you in the Save the Dates post, you’re well on your way to having all the information you need in one spot. However you can best keep track of your guests’ final numbers, just be sure that document includes all the information you’re going to need from number of guests to number of tables. It’s all important and it’s best if it’s all in one spot.
12 weeks – out of the country guests
10 weeks – the majority of your guests are out of town
8 weeks – the recommended mail date and/or if you did not send a save the date
6 weeks – the last recommended mail date
Do NOT get antsy and send invitations out any earlier in hopes of giving people time to get their RSVPs in earlier or to get them in the mail before someone else that may be getting married on the same day. This plan with backfire, resulting in too much time for guests to reply and having them ultimately forget to RSVP. And if Suzy and Tom have the same wedding date, chances are your mutual guests have already discussed which wedding they will be attending. It’s rarely the case of which invitation they receive first.
This is precisely why you would want to send out Save the Dates, as well. You’re giving your guests a heads up that this ish is going down and allowing them to plan ahead.
POSTAGE
It. Never. Ends, does it? This is often an overlooked portion of the budget. That’s why it’s important to understand what goes into calculating how much postage you’ll need. There are three main components that go into the amount of postage you’ll need : Weight, Size and RSVP. I tend to estimate spending the same amount on postage as you’ve ordered invitations. For example, if you’ve ordered 150 invitations, $150 is a safe estimate on postage. Keep in mind that if you have invitations going overseas, those will have different postage. If you have and odd shape, oversized or super thick envelope, your postage cost will be higher.
Some post offices will charge you to hand-cancel your invitations. Some won’t… it all depends upon the post office. Your best plan of attack is go in and talk to the workers behind the desk. Be sure to go without invitations and when the lobby is slow. Ask if they charge to hand-cancel wedding invitations or if they will permit you to hand-cancel off to the side. Many times, it’s dependent upon the worker and their mood. Maybe offering to bring coffee could score you some brownie points! Either way, start the conversation early so you can plan accordingly.
ADDRESSING
Obviously, if you address the envelopes yourself, you just need to invest the time. You also have the option to have your addresses digitally printed or calligraphed. This can range from .50cents an envelope (digital) to $4 an envelope (calligraphy) depending on which option you choose. Keep in mind you’ll need the return address, the RSVP address and the mailing address on the envelopes. There will be a separate charge for that return/RSVP address to be printed or written. A great option would be to have the return/RSVP address printed and either hand-write the address or have them calligraphed.
If you’re opting for an uber formal affair, you might consider an outer envelopes. This serves as a protective layer between the mail and the invitations suite. Typically, the outer envelope is addressed and the inner envelope signifies who is invited in a more informal way. For example, your invitation to your grandparents would be addressed Mr. and Mrs. Robert Smith and the inner envelope would read Grammy and PaPa. That inner envelope specifies who is invited, so this is also a great option for an adult only reception. Aunt Bea, with four kids whom are not invited, would have her inner envelope say Aunt Bea.
Get Organized
I have an excel sheet created for you that may help you organize your addresses, or at least give you an idea on what would work best for you. I also have a word doc set up for just the addresses, in case that’s more helpful. And just in case you want to download one more thing, here are some tips on addressing your envelopes that could come in handy.
Whew!
Who knew this much went into paper, huh? It’s a true process and for those of us that create custom invitations, it’s a true labor of love.
Want to work together? Yeah, me, too. Let’s talk


Leave a Reply